A simple mug cake recipe has gone viral with over 6 million views on TikTok and Instagram.
These quick desserts have become a sensation that takes just 5 minutes to prepare. The actual cooking time ranges from 60 to 90 seconds in the microwave. You can make chocolate, vanilla, or funfetti versions using simple pantry ingredients like flour, sugar, cocoa powder, and milk.
On top of that, it’s easy to create your perfect dessert by adding chocolate chips, Nutella, or peanut butter. We’ll show you each step to make a perfectly moist and fluffy mug cake, from picking the right mug size to getting the microwave timing just right.
Let’s create your new favorite quick dessert!
Essential Tools and Ingredients for Mug Cake
Making a perfect mug cake starts with the right tools and ingredients. Let’s explore what you need to create a delicious microwave dessert.
Choosing the Right Mug Size
Your mug’s size plays a vital role in creating a successful mug cake. A microwave-safe mug with 10-12 ounces capacity will give a perfect result. The mug shouldn’t be too wide or narrow to cook evenly. Ceramic or stoneware mugs produce exceptional results.
A bigger mug allows the cake batter to rise without spilling. You can also try ramekins or small ice cream cups to present differently. Note that mugs with metallic paint or decorations should be avoided.
Must-Have Ingredients
These simple ingredients will help you create a basic mug cake:
- Flour: All-purpose flour creates the base. You can substitute up to 50% with whole wheat flour
- Sugar: Regular granulated sugar or caster sugar produces best results
- Baking Powder: Fresh baking powder helps proper rising – check the expiration date
- Milk: Any type works, including dairy-free alternatives like almond or soy milk
- Oil: A neutral-flavored vegetable oil or melted butter works great
- Vanilla Extract: This adds depth to your cake’s flavor
Optional Add-ins and Toppings
Your mug cake becomes special with personalization. The flavor improves with these creative additions:
- Chocolate Options: Dark chocolate chips, milk chocolate pieces, or Nutella swirl
- Fruit Additions: Fresh berries or mashed bananas
- Nutty Choices: Chopped nuts or peanut butter swirl
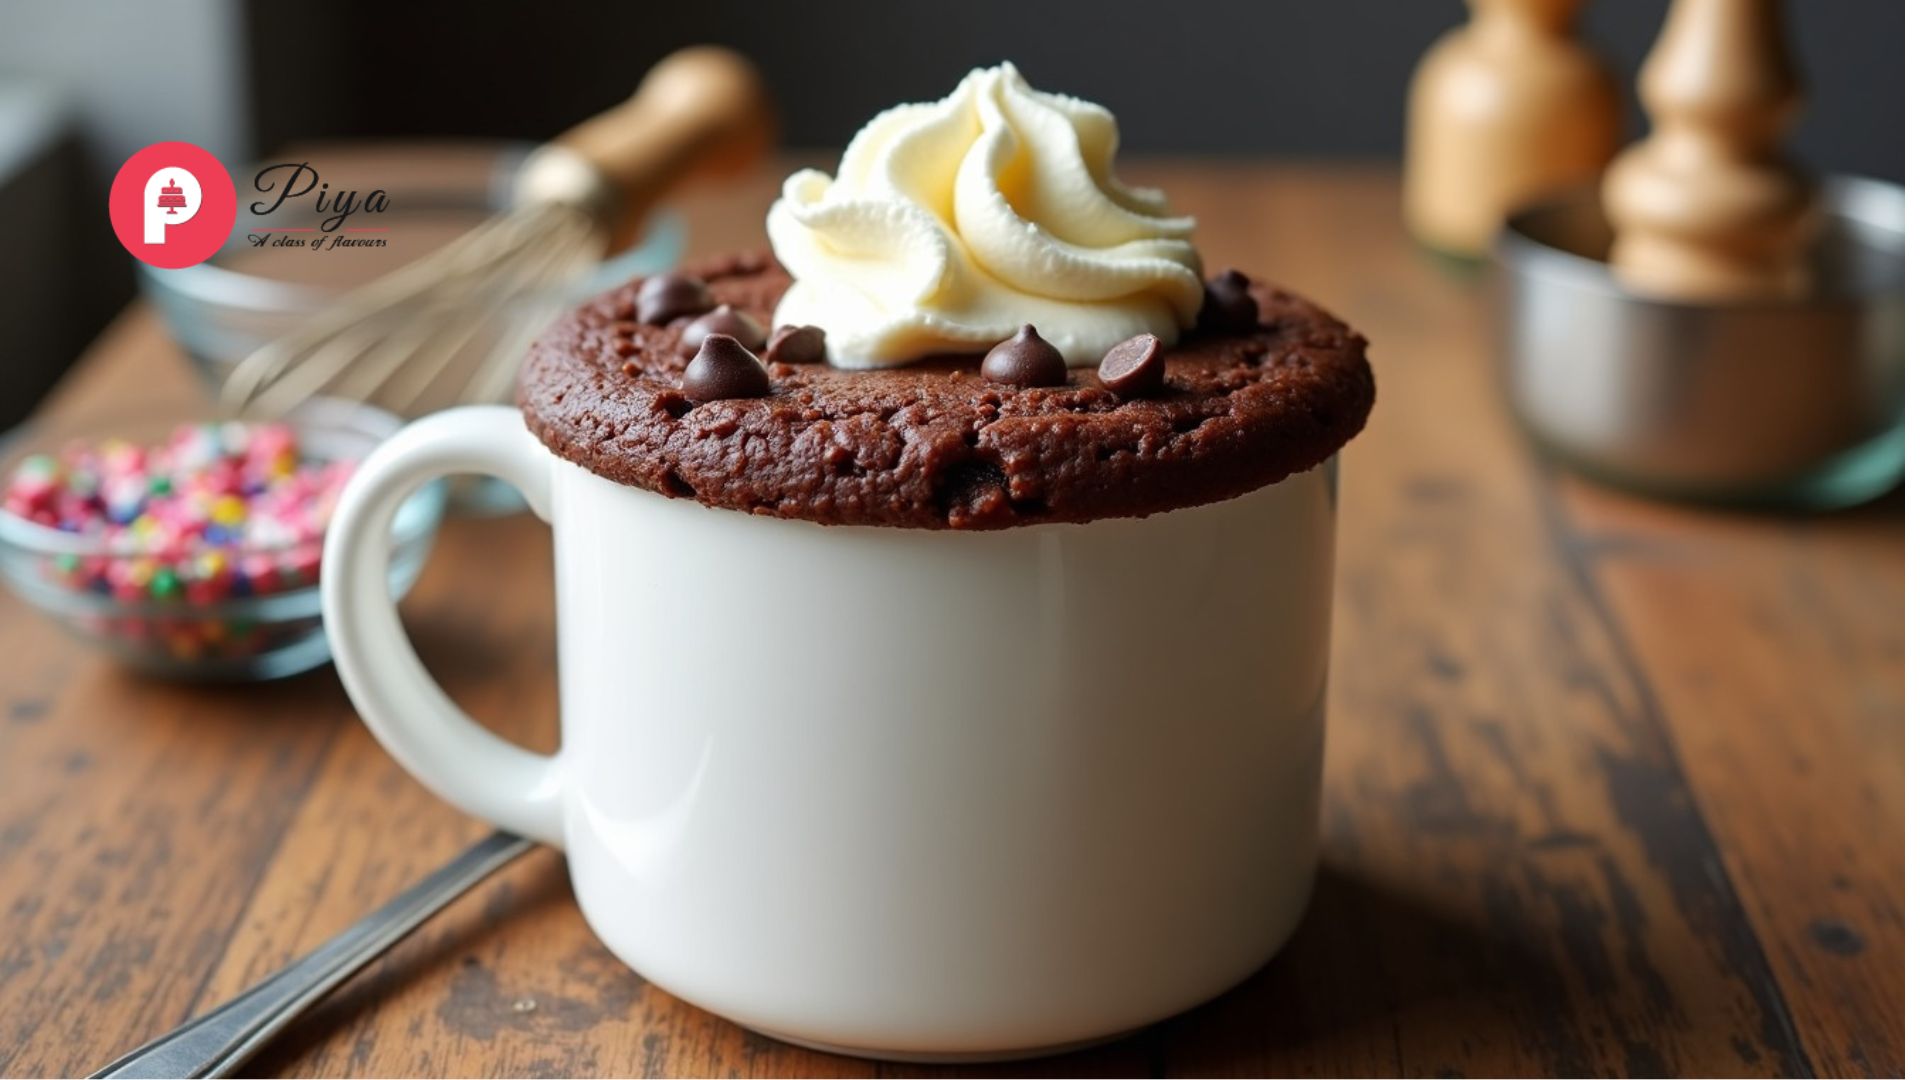
- Sweet Toppings: Whipped cream, caramel sauce, or ice cream
A light dusting of flour on add-ins like chocolate chips before mixing them into the batter prevents them from sinking.
Raw nuts should be sprinkled on top after cooking to keep their crunch. Toppings like whipped cream or ice cream should be added after the cake cools slightly.
Step-by-Step Mug Cake Instructions
The right steps will give you a perfectly moist and delicious mug cake every time. Let me walk you through the process step by step.
Mixing the Dry Ingredients
Gather your dry ingredients in a microwave-safe mug. Mix the flour, sugar, cocoa powder, and baking powder together. Use a fork to break any lumps in the cocoa powder to get a smooth mixture. You can press out bigger lumps with the back of the fork for better texture.
Adding Wet Ingredients Properly
After your dry ingredients are mixed well, add the wet ingredients gradually. Start with the milk, then add oil or melted butter, and vanilla extract. Stir until you get a smooth batter and make sure to scrape the bottom of the mug really well. Of course, don’t overmix as this can make your cake tough.
Microwave Cooking Time and Power Settings
Your microwave settings play a key role in the final step. Cook your mug cake on high power for 70-90 seconds. Your cooking times might change based on your microwave’s wattage:
- For 1000-watt microwaves: Cook for 1 minute and 40 seconds
- For 800-watt microwaves: Cook for 1.5 minutes
- For lower wattage: Start with 2 minutes on medium power
Look for these signs that show it’s done:
- The cake should be just set but still slightly shiny on top
- The center should be firm to touch
Let your mug cake rest in the microwave for one minute after cooking. The cake keeps cooking slightly during this rest time, which creates the perfect texture.
Put your mug in the microwave’s center to get the best results. This helps distribute heat evenly and cooks the cake properly. Note that the cake will rise substantially while cooking, so fill your mug only halfway.
Common Mug Cake Mistakes to Avoid
Making mug cakes can be tricky, even for experienced bakers. A good understanding of common mistakes will help you create perfect microwave desserts every time.
Wrong Ingredient Measurements
The right measurements make the most important difference in your mug cake’s quality. Guessing ingredients, especially flour, will give you dry, dense cakes. You should use proper measuring tools like graduated cups instead of random spoons.
Watch out for these common measurement mistakes:
- Too much baking powder or soda makes cakes taste bitter and causes them to rise then sink
- A whole egg in single-serving recipes gives an overwhelming egg taste
- Filling the mug more than two-thirds full causes overflow and uneven cooking
Improper Mixing Technique
Your mixing method directly affects the cake’s texture. Mix wet and dry ingredients separately before combining them. This will distribute all components evenly and prevent clumping.
These mixing mistakes can spoil your cake:
- Regular-sized whisks can’t reach corners well, leaving unmixed ingredients at the bottom
- Hard stirring activates gluten that makes the cake tough and rubbery
- Poor mixing creates flour lumps and uneven baking
A mini whisk with wider-set loops and at least five loops works best for efficient mixing. Mix ingredients until just blended because overmixing creates a dense, chewy texture.
The right ingredient incorporation is a vital part. Add flour gradually in three to four parts instead of all at once. You should coat mix-ins like chocolate chips with flour to keep them from sinking.
Timing matters without doubt. Look for signs that show the cake is done – it should look slightly wet in the center and barely stick to your fingers. Most mug cakes double in size around one minute. Let the cake rest in the microwave for an extra minute so residual heat completes the cooking process.
Perfect Mug Cake Texture Tips
Your mug cake’s perfect texture depends on careful timing and attention to detail. Here are some proven techniques that will give your microwave dessert the right consistency.
Testing for Doneness
You can become skilled at checking your mug cake’s doneness through several testing methods. The cake’s surface should look slightly wet in the center and feel spongy with gentle pressure. Start checking your cake after 60 seconds to get the best results.
A toothpick helps you determine if your cake is ready. Simply push it into the cake’s center:
- A clean toothpick shows it’s fully cooked
- Wet batter means more cooking time needed
- A few moist crumbs indicate perfect timing
Your microwave’s power significantly affects cooking duration. A 950-watt microwave usually needs 70-90 seconds. You might need to adjust these times based on your specific model.
Cooling and Serving Guidelines
The cake needs proper cooling time for the best texture, so resist eating it right away. Let your cake sit briefly after taking it out of the microwave. The residual heat continues cooking the cake during this time.
These serving tips will help:
- Eat within 10 minutes since the texture hardens later
- Wait for slight cooling before adding toppings
- A scoop of vanilla ice cream or hot fudge sauce makes great additions
The biggest problem occurs when you leave long gaps between microwaving – your cake might sink. Note that mug cakes look blonde instead of golden brown because microwaves can’t reach temperatures high enough for caramelization.
Look for these texture signs:
- A center that bounces back slightly
- Firm but soft edges
- Set surface with slight moisture
These indicators help create the perfect balance of moistness and fluffiness in your mug cake. Each microwave works differently, so you’ll need some practice to find the right timing for yours.
Conclusion
A perfect mug cake demands attention to detail. These simple techniques will reward you with delicious results. The right mug size and precise ingredient measurements create a strong foundation to succeed.
The right mixing techniques and microwave timing turn simple pantry ingredients into a warm, fluffy dessert. Each microwave is different, so visual cues like surface moisture and springiness help achieve ideal doneness.
These tips and tricks will help you create restaurant-worthy mug cakes at home. Your first attempt might not be perfect, but these guidelines will help you become skilled at making this quick dessert. You’ll soon customize recipes with confidence and add your favorite mix-ins and toppings to create an individual-specific treat that satisfies your sweet cravings.