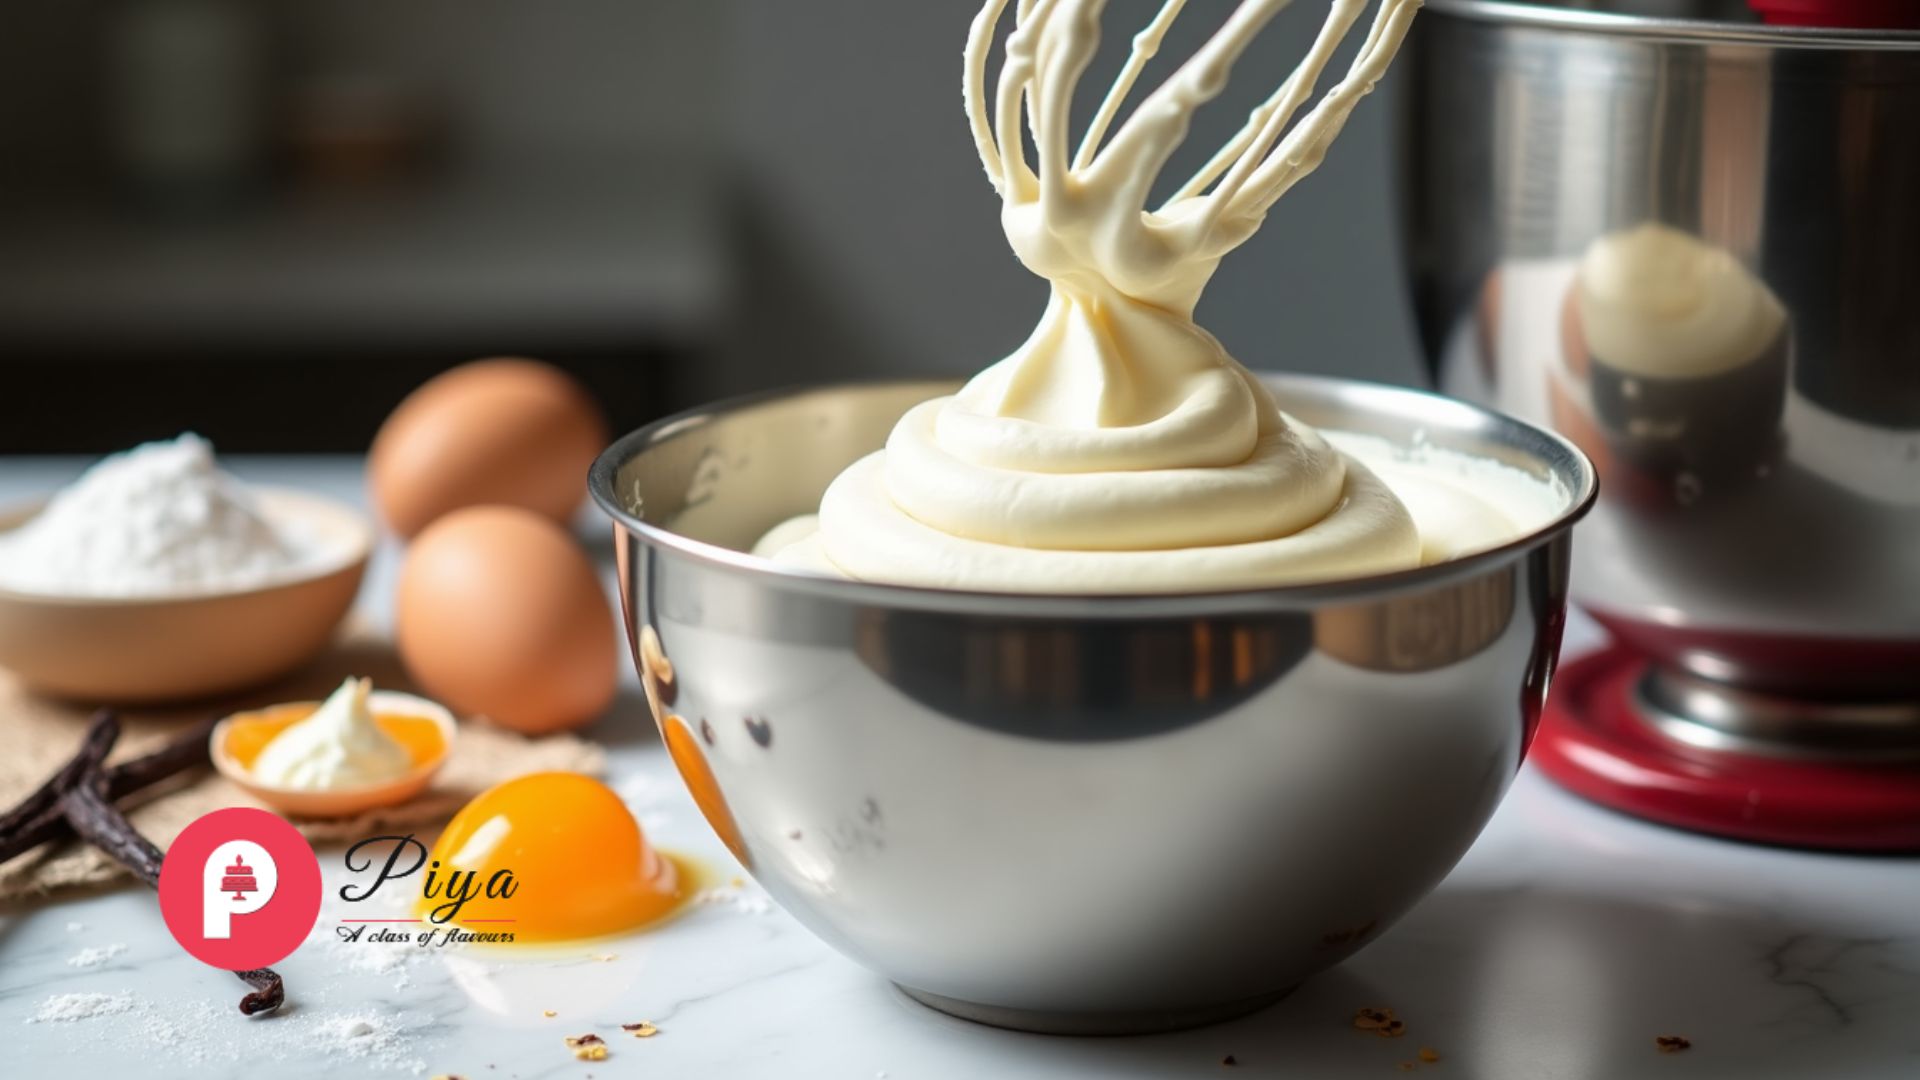
That disappointing moment when you bite into a cake slice and find artificial, overly sweet cream. Sound familiar?
Many of us know the struggle with store-bought cream that falls short of expectations. Here’s some great news – making cake cream at home is easier than you might imagine. The taste surpasses any pre-made alternative.
Fresh ingredients and a few simple techniques hold the key to success. Your baking can transform from good to exceptional when you use homemade whipped cream to decorate birthday cakes or create stunning desserts.
Would you like to learn how to make home fluffy, stable, and perfectly sweetened cake cream? We’ll walk you through each step. This piece covers everything you need from ingredient selection to achieving the ideal consistency. Let’s begin
Essential Ingredients for Perfect Cake Cream
The perfect cake cream starts with ingredients that make all the difference. My years as a professional baker have taught me that success comes from knowing why each ingredient plays its vital role.
Heavy cream or heavy whipping cream stands as our star ingredient. The cream must have at least 30% fat content to achieve that perfect whipped texture. Light cream or half-and-half won’t give you the results you need.
Confectioners’ sugar works better than regular granulated sugar to add sweetness and stability. The cornstarch in confectioners’ sugar serves two purposes – it sweetens your cream and helps it maintain its shape longer. This becomes particularly important when decorating cakes.
A touch of vanilla extract improves the overall flavor profile. This simple addition creates that professional quality that elevates your cream from good to exceptional.
You’ll need these tools to get started:
- A medium/large metal bowl (chilled)
- An electric mixer
- Measuring cups and spoons
- Rubber spatula
My experience has taught me that temperature matters immensely. Your cream should stay very cold, and your metal bowl needs 10 minutes in the freezer before you begin. This step creates those perfect, stiff peaks we want to achieve.
Non-organic whipping cream might surprise you. Despite organic cream’s premium status, non-organic varieties create a better fluffy texture that’s perfect for cake decorating.
Step-by-Step Whipping Technique
The most exciting part is becoming skilled at the whipping technique! Years of practice have helped me perfect this process, and I’m thrilled to share my expertise with you.
The preparation starts with a simple yet effective step. My metal bowl and whisk attachment go into the freezer for 15 minutes. This makes a remarkable difference in achieving perfect results.
These stages will appear as you whip:
- Initial Foaming (30-60 seconds) The cream develops small bubbles and becomes foamy and airy.
- Ribbon Stage (1-2 minutes) The mixture thickens and leaves brief trails as your whisk moves through it.
- Soft Peaks (2-3 minutes) Sugar goes in at this stage. The cream’s texture resembles yogurt, and your whisk will create peaks that gently curl downward.
- Medium Peaks (3-4 minutes) The cream turns firmer and glossier. This consistency works perfectly for filling cakes.
- Stiff Peaks (4-5 minutes) Your cream holds its shape firmly when the whisk is lifted – perfect for piping decorations.
The final minute requires a watchful eye because timing is significant. Any signs of graininess or yellowing mean you should stop immediately. These warning signs indicate over-whipping that can transform your cream into butter.
Note that whipped cream transitions from perfect to over-whipped in seconds. Stay alert and watch those visual cues.
Stabilizing Methods for Long-Lasting Results
Let me share my secrets to make your cake cream last longer after becoming skilled at the simple whipping technique. Stabilization makes a huge difference in achieving professional-looking results.
Gelatin stands out as the most reliable stabilizer. The perfect ratio is 1 teaspoon of unflavored gelatin powder mixed with 1½ tablespoons of water for each cup of heavy cream. The mixture needs 5 minutes to bloom before heating until melted. You should add this mixture slowly as you whip the cream.
My vegetarian friends love agar agar powder as a great alternative. The same proportions work well – 1 teaspoon per cup of cream. The texture differs slightly, but it holds its shape beautifully.
Your stabilized cream will last:
- Gelatin method: 2-3 days in the fridge
- Agar agar method: 1-2 days refrigerated
- Cornstarch method: Up to 24 hours chilled
The cornstarch method works great for shorter events. You can mix 1 teaspoon of cornstarch with powdered sugar before adding it to your cream. This method won’t preserve as long as gelatin-stabilized cream but works perfectly for same-day serving.
Pro tip: Your stabilized cream needs an airtight container in the refrigerator, whatever method you choose. Piped decorations can stay in the freezer for up to three months, though fresh ones taste best.
Conclusion
Creating perfect cake cream at home might feel overwhelming at first. But with the right knowledge and techniques, you’ll make a cream that tastes better than anything from the store.
My time in the kitchen has shown that three elements are the foundations of success. You need premium ingredients at the right temperature, close attention to whipping, and the right stabilization methods. These essentials help create a cream that tastes amazing and holds its shape.
Each attempt brings you closer to perfection. Your first try might not match professional results, but you’ll see better texture and stability with every batch. Start with simple whipped cream and test different stabilizers to find what works best for you.
Trust your instincts and watch those visual cues as you whip. The right cake cream can revolutionize your homemade desserts. Simple treats become unforgettable masterpieces that your family and friends will rave about.

