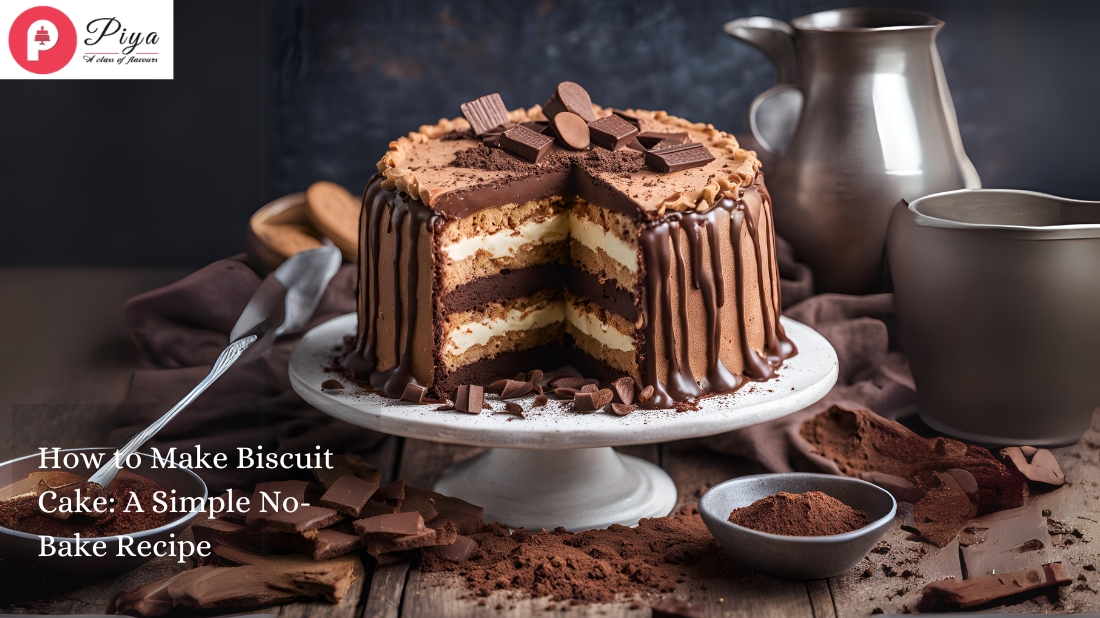
Do you aim to enjoy some tasty homemade cake without cooking in a hot oven or resorting to the baking techniques that could make you work?
Most of us know the feeling. The thought that goes behind accurate measurements, adjusting temperatures, and risk of a fallen cake often leaves us with no other option left than to grab one from a store. There is good news-you can bake a lovely cake by not turning your oven on.
The classic biscuit cake is your answer. This delicious dessert uses biscuit cookies and a few simple ingredients to achieve the decadent richness that can rival those fancy bakery creations. After innumerable test runs in our kitchen, we have perfected our biscuit cake recipe and are eager to share with you our sure-fire method.
If you’re ready to whip up a beautiful dessert without all the time and effort, check out this easy cake recipe that will put a homemade cake on your table in no time.
Mastering the No-Bake Method
This step-by-step process shows you how to make a no-bake biscuit cake. The method’s simplicity makes it reliable and easy to follow.
A perfect no-bake biscuit cake needs these steps:
- Prepare the Base: Crush digestive biscuits into small pieces. Mix both finely crushed and chunky bits to create the perfect texture.
- Create the Chocolate Mixture: Combine butter, cocoa powder, and sugar in a saucepan over medium heat. Important tip: The mixture should not boil or bubble because it affects the chocolate’s texture.
- Combine and Shape: Mix the chocolate mixture with crushed biscuits until they’re well coated. Press the mixture firmly into a 9-inch pan to create a smooth surface.
A luxurious chocolate ganache adds the perfect finish. Heat cream just until it simmers and pour it over chopped chocolate. Let it sit for 2 minutes, then stir until smooth. The ganache goes over your cake before refrigeration.
Pro Tips:
- Room temperature ingredients yield better results
- Tap the pan on your counter to remove air pockets and achieve a smooth finish
- The cake needs 3-4 hours to chill, but overnight chilling works best
Note that patience rewards you with perfectly melded flavors in your no-bake biscuit cake.
Flavor Variations and Add-ins
Our biscuit cake recipe stands out with its endless flavor possibilities. The classic chocolate version tastes amazing, and we’ve found many more exciting variations that will delight your taste buds.
Chocolate enthusiasts can play around with different varieties. Cadbury’s Bournville gives a rich, deep flavor, while Dairy Milk creates a sweeter profile. A splash of brewed coffee in the chocolate mixture takes it to another level.
Biscuit selection changes the cake’s character completely. Marie biscuits work well traditionally, and we’ve had great results with:
- Rich Tea biscuits for a classic royal touch
- Digestive biscuits for a heartier texture
- Oreos for an intense chocolate experience
- Graham crackers for a subtle sweetness
The recipe transforms with creative add-ins. Toasted nuts like walnuts, hazelnuts, pistachios, or mixed varieties add wonderful crunch and depth. Dried fruits bring a festive touch that reminds us of traditional fruit cake but with our no-bake spin.
The cheesecake-inspired version has become a crowd favorite. Just add a layer of cream cheese filling between the biscuit layers. Our guests can’t seem to get enough of this variation.
Storage and Serving Tips
The right storage plays a vital part in keeping your no-bake biscuit cake’s delicious taste. Our experience shows this treat stays fresh up to two weeks with proper wrapping.
Your biscuit cake needs an airtight container for the best results. You can keep it in a cool, dark spot in your kitchen if you plan to serve it within 48 hours. The refrigerator works best to maintain firmness if you need to store it longer.
Here are our tested tips to get that perfect slice:
- Let the cake sit at room temperature 2 hours before serving
- Make clean cuts with a sharp knife dipped in hot water
- Keep your knife clean between slices for a professional look
- Take off decorative elements before you start cutting
The cake’s texture stays fresh and moist if you wrap leftover slices in cling film or foil before putting them back in their container. This simple method prevents the cake from drying out.
Important temperature note: The cake should go straight back to the refrigerator after photos or serving on hot days. This step keeps your cake from melting and helps maintain its texture.
The good news is that this biscuit cake freezes well for longer storage. Just wrap it in cling film, place it in an airtight container, and it will stay fresh for up to three months in your freezer.
Conclusion
You don’t need professional baking skills or fancy equipment to make a delicious biscuit cake. Our no-bake recipe shows that anyone can easily create impressive desserts. The right techniques, creative flavor combinations, and proper storage will help you become skilled at this versatile treat.
Our tested methods give you the perfect texture while learning about different ingredients and keeping everything fresh. Note that your patience during chilling and attention to storage details will result in a cake that matches any bakery’s creation.
This recipe offers endless possibilities for customization, from different biscuit choices to exciting add-ins. Start with our simple version and let your creativity guide you to unique variations that match your taste. This no-bake biscuit cake will soon become your favorite dessert for casual treats and special occasions.

