A couple’s silver wedding anniversary represents 25 beautiful years of shared life together. This special milestone deserves a cake that tells their unique story.
You can create a professional-looking anniversary cake with simple or complex designs. The key lies in paying attention to details. Traditional elements like hand-piped lace work and sugar flowers need skill and patience to achieve that perfect bakery-style finish.
Making a cake worthy of this milestone might seem daunting at first. The process becomes manageable when you break it down into simple steps. From baking and layering to icing and decorating, you can create a stunning centerpiece that looks just as good as one from a professional bakery.
In this piece, we’ll show you proven techniques to make a 25th anniversary cake that looks professionally crafted right in your kitchen. Let’s create something amazing together!
Planning Your 25th Anniversary Cake
The right cake size sets the foundation for a successful celebration. A standard 9-inch cake serves up to 27 people at formal events, though this might drop to 18 servings for guests with bigger appetites. When you plan a multi-tiered cake, add up portions for each tier and make sure your bottom layer can hold the weight above it.
Time management is vital in cake preparation. You should start baking at least 2-3 days before the event. Here’s a tested schedule that will give a perfect result:
- Day 1: Bake and freeze cake layers while warm
- Day 2: Fill the layers and return to freezer
- Day 3: Apply crumb coat and final decorations
- Event Day: Allow 3-4 hours to let the cake reach room temperature
Your cake’s freshness depends on proper storage. Keep it in an air-conditioned space at 70 degrees Fahrenheit. Tiered cakes with perishable fillings need refrigeration.
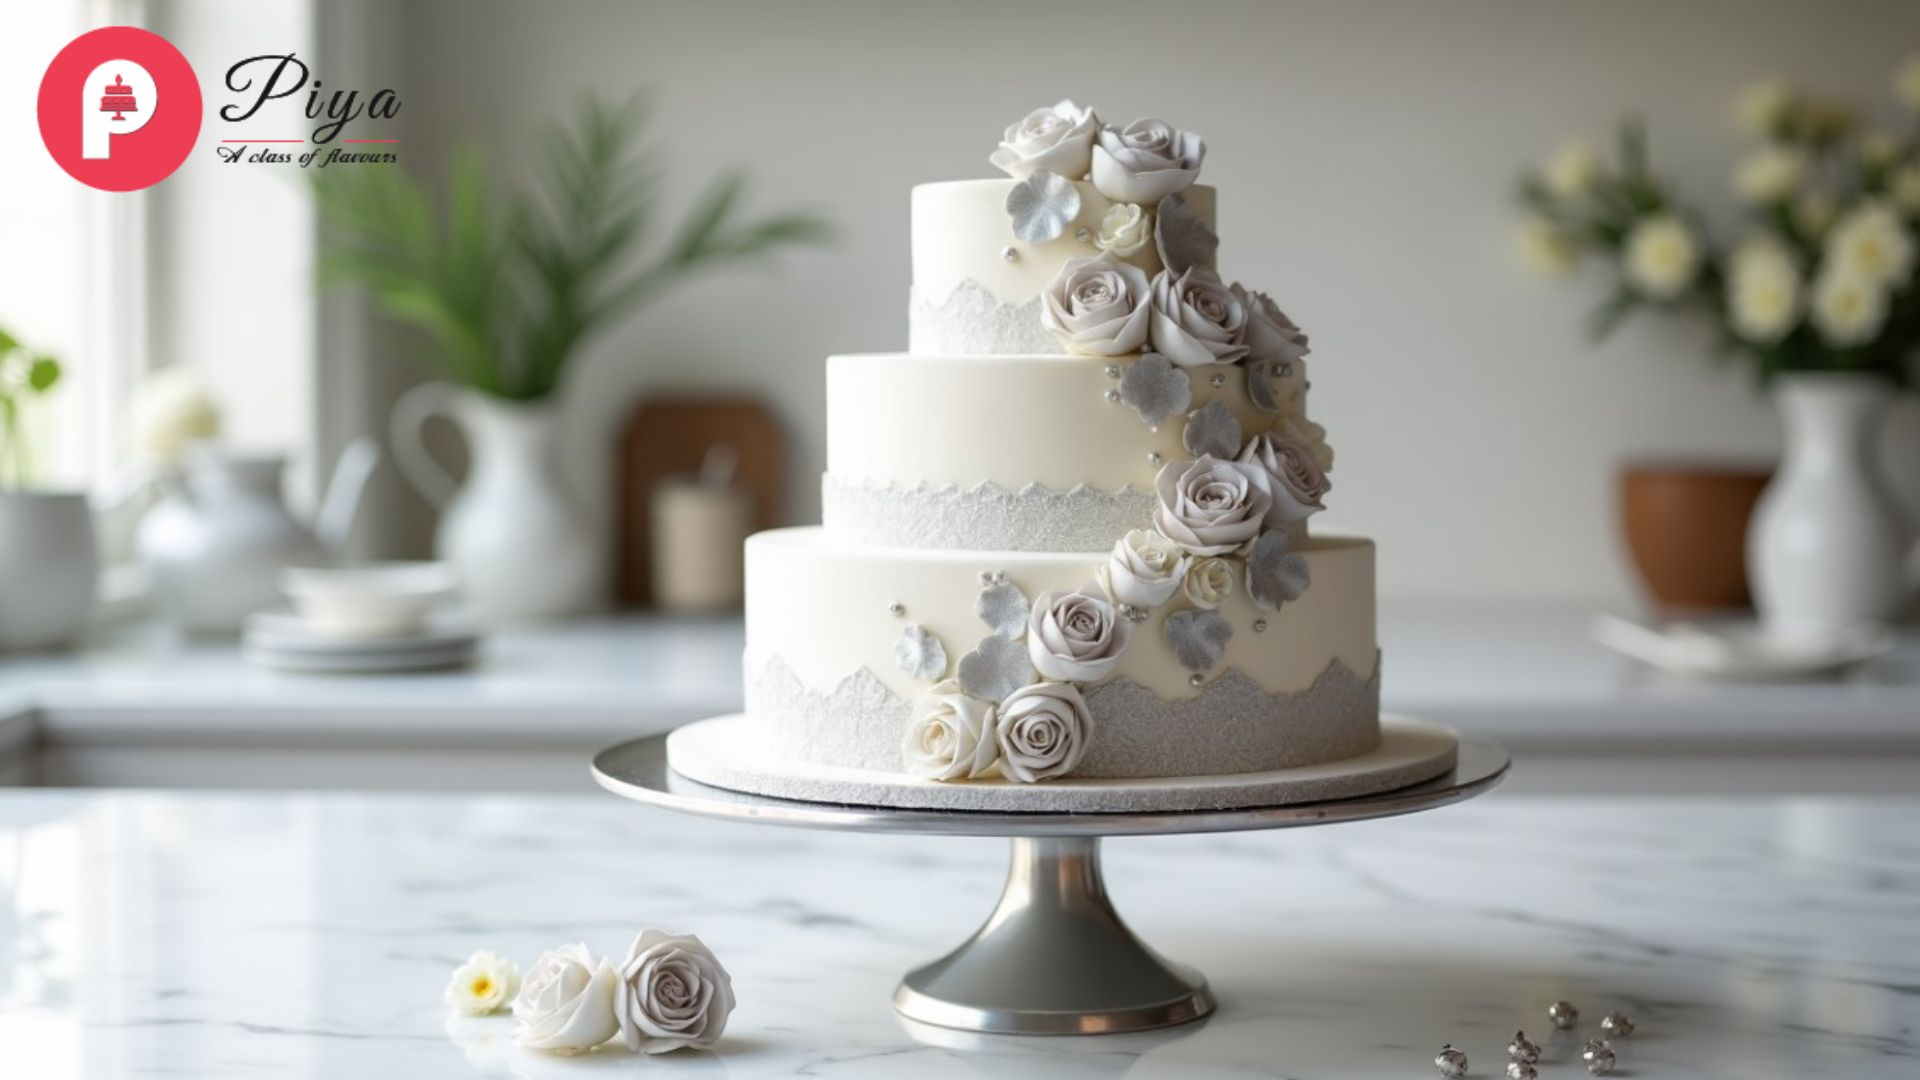
The silver jubilee cake becomes special with traditional elements like fondant carnations or silver accents. Couples often add customized touches such as edible photographs or meaningful messages to create lasting memories.
A repair kit with extra frosting, decorative pieces, and simple tools helps fix any setup issues. This preparation will keep your 25th anniversary cake looking perfect throughout the celebration.
Building a Sturdy Cake Structure
A stable foundation is the backbone of any multi-tiered 25th anniversary cake. We learned that a proper internal structure keeps the cake from collapsing under its own weight. A typical three-tier cake can weigh up to 9.1kg.
Plastic dowels or boba straws are a great way to get superior stability compared to wooden dowels. The rule for dowel placement is simple: use as many supports as the size of the cake tier above. To name just one example, an 8-inch bottom tier supporting a 6-inch top tier needs 6 dowels.
Everything in proper support placement includes:
- Push the first dowel into the bottom tier until it hits the board
- Mark and cut it level with the cake’s top surface
- Use this dowel as a template to cut remaining supports
- Position dowels about 1.5 inches from the cake’s edge
- Add extra supports toward the center for cakes larger than 12 inches
Each tier needs its own cake board that matches its exact size. These boards work with the dowels to create a table-like structure inside your cake and distribute weight evenly across all tiers.
Your silver jubilee masterpiece needs extra stability during transport. A sharpened central dowel through all tiers after stacking prevents movement. This ensures your 25th anniversary cake looks professional throughout the celebration.
Professional Finishing Touches
Become skilled at final touches to elevate a simple cake into a professional 25th anniversary masterpiece. We incorporated silver accents to create that jubilee appeal. Silver fondant, edible silver leaf, or intricate silver piping will give your cake a regal look.
A flawless fondant application starts with kneading the fondant using shortening to prevent dryness. Roll it to a uniform 1/8 inch thickness on a fondant mat to avoid elephant skin effects. Cover the cake and use a flexible sugar smoother at 90 degrees to create sharp edges.
You can prevent fondant problems by wrapping the cake in plastic and storing it in a cake box before refrigeration. The cake should sit untouched at room temperature if condensation appears until moisture evaporates.
The cake’s transportation needs careful planning. Deliver it at least 2 hours before the event. The vehicle should stay cool while you drive carefully. A “Cake Delivery in Progress” sign helps keep impatient drivers away. Pack a repair kit with extra frosting and decorating tools to fix any issues at the venue.
Customized cake toppers with the couple’s names and anniversary date add a professional touch to the final presentation. This silver jubilee cake becomes more than dessert – it revolutionizes into a stunning centerpiece that captures 25 years of cherished memories.
Conclusion
A store-bought quality 25th anniversary cake just needs attention to detail and good planning. This special project becomes manageable when you break it down into simple steps, even though it may seem challenging at first.
You can achieve great results by following a proven timeline and having solid structural support. The finishing touches will make all the difference. Start your preparations early and use the right support systems. Silver accents will make this milestone cake truly memorable.
The cake’s professional look matters from original planning to the final presentation at the venue. These techniques and tips will help you create a stunning silver anniversary centerpiece that looks professional. Your creation will perfectly celebrate 25 years of love and dedication.